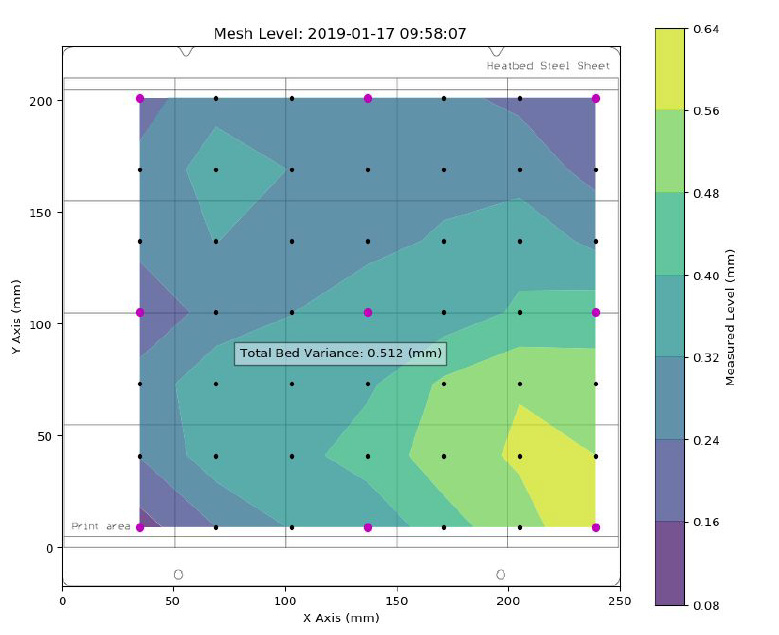
The A.T.C.I.P V3 sensor will go through a number of points, in a grid pattern, spread across the build-plate (whether it is a powder-coated or smooth PEI sheet does not matter), and measures the distance to the sheet. These points are interpolated and used to create a virtual mesh of the bed. During printing, if the bed is slightly warped, the sensor will still precisely follow the surface according to its measured mesh. This procedure is performed before every print. It is also the same procedure that happens in the second round of XYZ-calibration.
The StallGuard for the Z-axis is active during the mesh bed leveling. In case the nozzle crashes into the bed before the A.T.C.I.P V3 sensor triggers, the calibration process is interrupted and the user is asked to check the nozzle for any kind of debris.
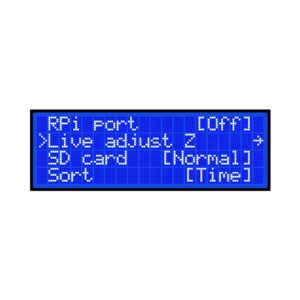
You can initiate the Mesh bed leveling independently from Calibration -> Mesh bed leveling, on the LCD menu.
Mesh bed leveling settings
The Mesh bed leveling settings can be found within Settings – Mesh bed Leveling, on the LCD menu. There you have the following options:
Mesh (3×3 – 7×7)
Z-probe nr. (1 – 3 – 5)
Magnet comp. (ON / OFF)
Mesh: The default grid density is 3×3 (9 points). However, if you still experience uneven first layer adhesion, you can increase the density in Settings – Mesh bed leveling – Mesh to 7×7 (49 points).
Z-probe nr.: Changing the Z-sensor nr. you change how many times will each point be measured. We suggest either 3 or 5 measurements per point since the final value is calculated as an average value. Changing these settings affects how long will the Mesh bed leveling procedure takes to complete.
Magnet comp.: With 7×7 Mesh bed leveling, you can choose whether or not to use Magnets compensation. 11 of the 49 points are so close to magnets, that the reading can be off by as much as 80μm (microns). Magnet compensation ignores readings from these 11 points and calculates them from the surrounding points. We suggest leaving this function on.
Enforcing the Z-calibration
If the mesh bed leveling is interrupted during the procedure, before a print, a message will appear on the screen stating “Enforcing the Z-calibration” and the printer will re-home and run through the procedure again. This can occur if there is debris on the nozzle, pushing the bed down when probing or if you touch and press the bed while it is probing. This will bring the deviance above a certain threshold and it will simply make another attempt to run the Mesh Bed Leveling. This is to avoid starting it from the menu again if the problem was simply an accident. If the problem remains, it will repeat this procedure three times before canceling the print.
Article referenced from Prusa Knowledge Base by Prusa Research.